When you think of Kagawa Prefecture, you might immediately associate it with Sanuki Udon. However, today we’re making another local specialty, bone-in chicken called ‘Honetsuki-Dori.’ The robust flavors of garlic and pepper will pair well with drinks!
First, remove any excess moisture from the surface of the chicken thigh using a paper towel.
To help it absorb the seasonings easily, pierce the chicken numerous times with a bamboo skewer.
Make sure the entire surface of the chicken is thoroughly pierced.
Flip the chicken over and remove excess moisture thoroughly from the opposite side.
Also, pierce the other side with a bamboo skewer, making sure to pierce it as many times as possible.
Next, place the knife tip at the joint and gently move it back and forth. Slowly move the knife back and forth without applying much pressure, allowing it to slide easily into the gap between the joints.
Detach the joints while keeping the skin intact.
Next, make incisions in the meat along the bones, partially separating the meat and bones. This will help cook the chicken evenly.
Make incisions along the other side of the bones as well.
To season the chicken, calculate the salt amount as 0.5% of the weight of the bone-in chicken in advance. Apply about two-thirds of the amount to the meat side. Rub it thoroughly into the meat.
Flip the chicken over, and rub the remaining one-third of the salt into the skin.
Position the chicken with the meat side facing up, and generously sprinkle coarsely ground black pepper on it.
Spread the grated garlic on the meat as well. While garlic powder is typically used, we prefer fresh garlic. You can choose either option based on your preference.
Because garlic tends to burn easily, try distributing it into the gaps rather than over the surface.
Place the chicken onto a tray, cover it with plastic wrap, and allow it to marinate in the refrigerator overnight or for a full day. This will allow the flavors to infuse thoroughly, making it even more delicious. By calculating the salt amount as 0.5% of the weight of the chicken, you won't end up with overly salty chicken even if you marinate it for an extended time.
Now, let's cook Honetsuki-Dori! Heat the olive oil in a frying pan.
Once it's heated, place the marinated chicken with the skin side up.
Cover with a lid and cook over low heat for 7 to 8 minutes.
Occasionally rotate the pan to brown evenly. This chicken was marinated in the refrigerator for a full day, allowing the meat to thoroughly absorb the flavor. Every part of this chicken should be delicious to eat.
At the halfway point, open the lid and check the browning. If water drips into the pan, the oil may splatter, so gently lift the lid vertically to minimize dripping.
Check the sear on the meat. It's looking good. Cover and continue cooking on low heat.
After cooking for about 7 minutes, flip the chicken over.
Cover again and continue cooking for another approximately 10 minutes.
Check the browning again midway through. It's looking good as well. Cover and continue cooking.
Now, the skin side has cooked for about 10 minutes.
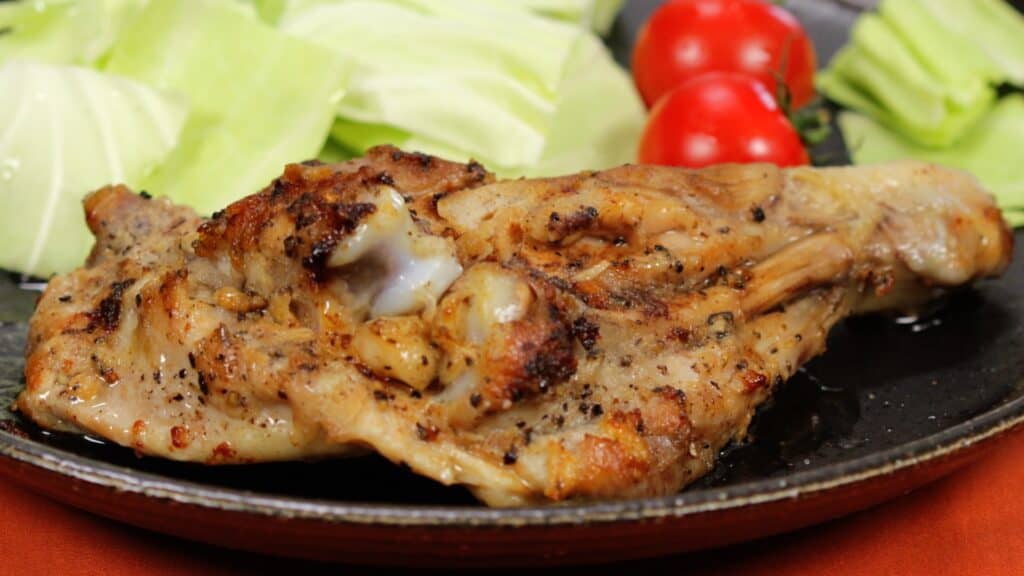
The skin should be delicious with a good amount of browning like this. Turn off the heat.
Place the chicken onto a plate along with a side of cabbage leaves and cherry tomatoes.
While the pan is still hot, add the soy sauce.
Give it a quick stir, and then spoon the sauce over the chicken.
Now, let's take a big bite! Cabbage also tastes great with the chicken sauce.
When using chicken with a firm, chewy texture, make incisions with kitchen scissors in a few places before eating to make it easier to enjoy.
Recipe Notes
Since you can prepare it the day before, it's also perfect for occasions like inviting friends over for dinner.
This dish was inspired by the restaurant owner witnessing a scene in a Hollywood movie where an actress bites into a large piece of bone-in fried chicken. The desire to offer such an extravagant dish to customers led to experimentation, resulting in the creation of 'Honetsuki-Dori,' bone-in chicken thighs that are seasoned and grilled.