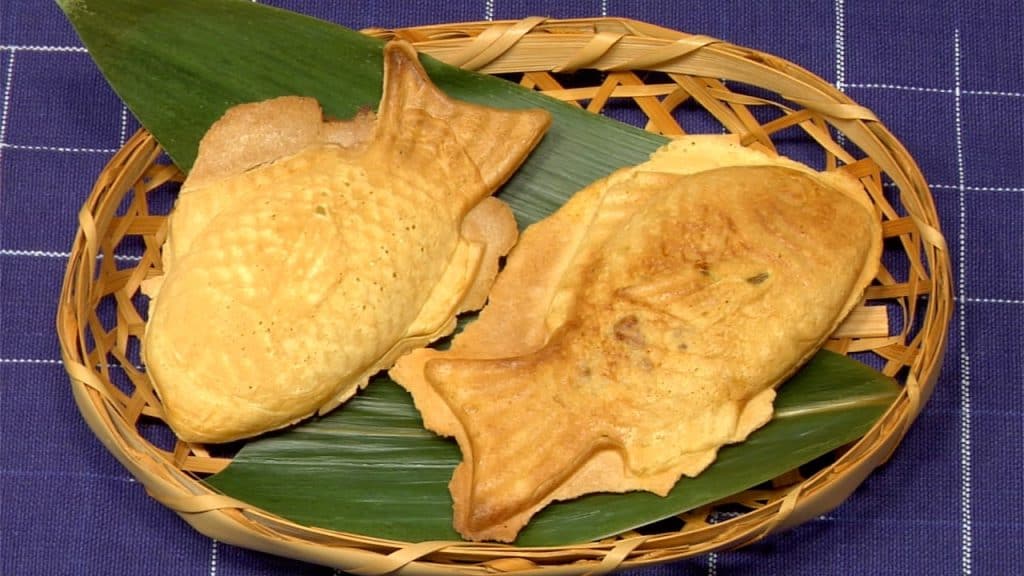
We are making delicious white bean paste and Taiyaki, a fish shaped cake filled with sweet bean paste. The freshly made Taiyaki is exceptionally delicious, and it is also fun to make.
First, let's make white bean paste for taiyaki. Wash the white beans with water thoroughly and place them in a bowl.
Pour 1000 ml of water or 3 times as much water as the volume of the beans. Soak the beans in the water for more than 6 hours or overnight.
The soaking time varies according to the size, type, and freshness of the beans.
When the wrinkles on the skin of the beans disappear completely, transfer the beans and water to a heavy pot.
Turn on the burner and cook the beans on medium heat.
When it begins to boil, add about 100 ml of cold water. This process will help to keep the inside and outside temperature of the beans even.
When the water boils again, remove the foam, and reduce the heat to low.
Cook for 3 more minutes.
Then, discard the cooking water to remove any bitterness.
Lightly rinse the beans with water.
Place the beans in the heavy pot, add 800 ml of water, and turn on the burner.
Bring the water to boil and add about 50 ml of cold water until it stops simmering.
When the water boils again, remove the foam.
Place a drop-lid in the pot and cover the pot with a lid.
Reduce the heat to the lowest possible heat, and simmer the beans until softened.
Don't stir while simmering otherwise the beans will break.
These beans are cooked for one and a half hours. Please note that the cooking time varies depending on the size and type of beans. If the beans are above the surface of the water, add extra water to keep them submerged.
You can easily squash the bean by pressing it, and the skin of the beans is also soft.
When the beans are soft, discard the water and put the beans back into the pot.
Add one-third of the granulated sugar to the beans. Stir to mix with a heat-resistant paddle while still heating.
Add another one-third of the sugar.
Mix evenly.
Add the rest of the sugar and a pinch of salt. Stir to mix well.
Test the consistency of the bean paste also known as Anko.
The anko becomes firmer when cooled so reduce the liquid until it begins to slightly hold its shape when you drop the anko from the spatula.
Place the anko on a baking tray. Distribute the anko on the tray.
Tightly wrap it with a plastic wrap and let it sit cool at room temperature.
Next, let's make the taiyaki batter. Beat the egg in a bowl. Add water to the egg and stir to mix.
Sieve the cake flour, baking soda and sugar into another bowl.
While stirring the flour mixture with a balloon whisk, pour the diluted egg in the center.
Gradually blend in the flour from the center to the outside and combine the mixture thoroughly.
This will help avoid pockets of dry flour and you will get a smooth taiyaki batter.
Let's make the Taiyaki. Lightly heat both sides of the taiyaki pan.
Thinly coat the inside of the pan with vegetable oil. This pan can make 2 pieces of taiyaki at a time.
Ladle the batter into the taiyaki molds.
Place the white bean paste and packaged red bean paste in each batter.
Pour the batter over the bean paste.
Close the taiyaki pan and flip it over.
Occasionally flip the pan over and cook until both sides of taiyaki become golden brown. You may want to open the pan to check the color of the taiyaki while cooking.
Remove the taiyaki with a bamboo skewer and trim off the edges.
Enjoy the taiyaki while they are still hot.
Recipe Notes
A tip to making delicious bean paste is adding the sugar in 3 steps after the beans become soft completely. If you add the sugar while the beans are still firm, the beans will stay firm even if you cook them for a longer time.
This white bean paste contains bean skins, allowing you to taste the whole beans.
When you freeze the bean paste, divide it into smaller pieces and store them in the freezer.
You can use a pressure cooker to reduce the cooking time of beans. Follow the instructions of your pressure cooker.
To make regular anko, sweet red bean paste, check out our Ogura Butter Sandwich recipe.
Hello! May I ask why do you use baking soda and not baking powder? I see most recipe use baking powder, so I wonder if using baking soda will be better, or it might give a soapy taste from the baking soda? Thank you, I look forward to make taiyaki this week <3
")


Hello! May I ask why do you use baking soda and not baking powder? I see most recipe use baking powder, so I wonder if using baking soda will be better, or it might give a soapy taste from the baking soda? Thank you, I look forward to make taiyaki this week <3
This is a good question!😊
Baking soda releases carbon dioxide gas when heated and gives the dough a light and soft texture.
“Baking powder” contains baking soda and acidic ingredients. When water is added, they react and release carbon dioxide.
When you bake taiyaki one piece at a time or need to rest a dough, baking soda is suitable.
The batter with baking soda tends to brown easily and it might add a slight bitterness, so please be sure to use the correct amount.
Hope you will enojy the taiyaki soon.🐩👩🍳💓